With the power to sculpt and enhance our facial features, these techniques have gained immense popularity in recent years. However, for those who are new to the world of makeup, the thought of contouring and highlighting can be overwhelming and intimidating. With the vast array of products and techniques available, it can be challenging to know where to start. That’s where we come in. In this article, we will guide you through the fundamentals of contouring and highlighting, from choosing the right products to application techniques, to help you achieve a flawless and effortless look. So, whether you are a beginner seeking to enhance your makeup skills or someone looking to refresh your knowledge, our step-by-step guide will equip you with the necessary tools and knowledge to master the art of contouring and highlighting.
First, Prep Your Face: Moisturize
Before diving into the fascinating world of contouring and highlighting, it’s crucial to give our faces the TLC they deserve. Moisturizing is the first step in achieving a flawless and long-lasting makeup look. We all know that feeling of dry, tight skin, especially during those colder months. So, let’s grab our favorite moisturizer and pamper our faces with a generous application. Moisturizing not only hydrates our skin, but it also creates a smooth canvas for our makeup application. Remember, a well-prepped face is the key to a stunning and flawless contour and highlight look. So, let’s give our skin that extra boost of hydration before we embark on this makeup journey.
Choose A Contour Shade
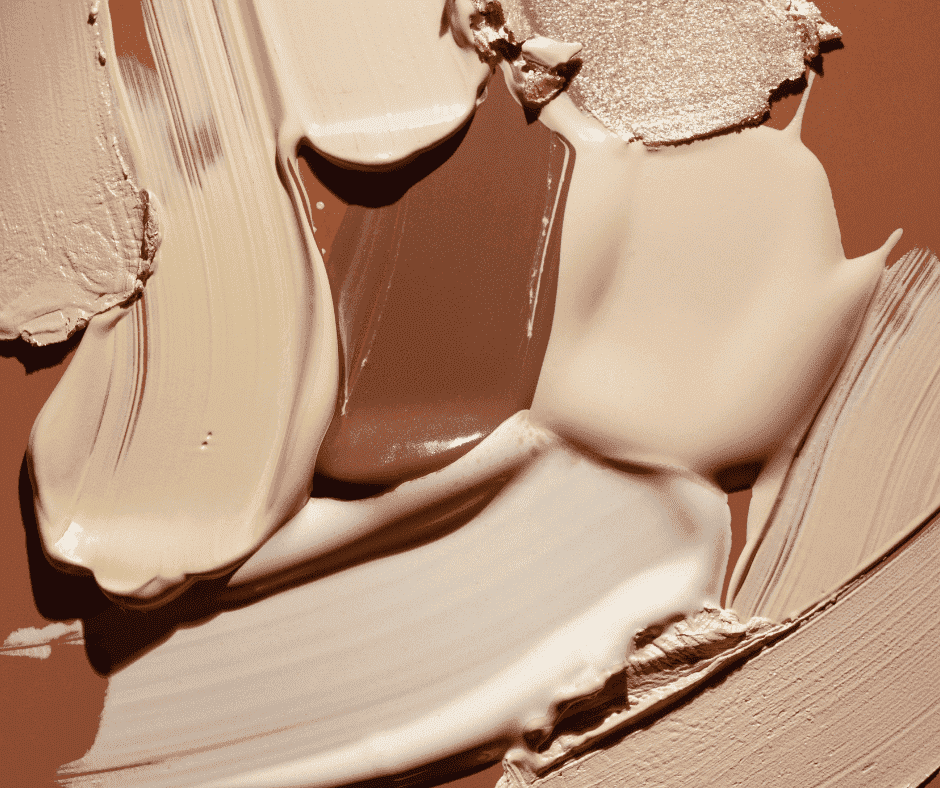
When it comes to choosing a contour shade, it’s important to consider our individual skin tones and preferences. One rule of thumb is to go for a shade that is two to three shades darker than our natural skin tone. This will create a more natural-looking shadow and definition. However, it’s crucial not to go too dark, as it can result in a harsh and unnatural effect. Experimenting with different shades and undertones can help us find the perfect match for our desired look. Whether we prefer a cool-toned contour or a warmer bronzed effect, selecting the right shade can make a significant difference in achieving a beautifully sculpted face. So, let’s have fun exploring different contour shades and embrace the magic of creating dimension and definition in our makeup routine.
Blend Your Contour Like Crazy
Now that we have found the perfect contour shade, it’s time to blend it like crazy! Blending is the key to achieving a seamless and natural-looking contour. Grab a soft, fluffy brush and start blending the contour shade into the hollows of our cheeks, along the jawline, and on the temples. Remember to use light, feathery strokes and blend in circular motions to avoid any harsh lines. Don’t forget to blend upwards towards the hairline to create a more lifted effect. Take your time and keep blending until the contour seamlessly melts into our skin, creating that coveted chiseled effect. So, let’s grab our brushes and blend away to achieve a flawlessly sculpted look that will have everyone asking for our contouring secrets!
Next, Grab A Highlighter
Now that we have our perfectly blended contour, it’s time to add a touch of glow with a highlighter. This step will bring light and radiance to our features, creating a beautiful contrast to the shadows created by the contour. So, let’s grab a highlighter and get ready to shine! Choose a shade that complements our skin tone – whether it’s a soft champagne or a golden hue, find one that suits our preferences. Using a small, fluffy brush, apply the highlighter to the high points of our face – the cheekbones, the bridge of the nose, the cupid’s bow, and the brow bone. With a light hand, gently sweep the product onto these areas and blend it in for a natural, luminous effect. The key is to not overdo it – a subtle glow is what we’re aiming for. So, let’s embrace our inner glow and get ready to shine bright with our highlighter!
Apply Highlighter To High Points
Now that we’ve mastered the art of contouring, it’s time to take our look to the next level by applying highlighter to the high points of our face. This step is all about adding that gorgeous glow and enhancing our natural features. We want to achieve a luminous effect that catches the light in all the right places. Using a small, fluffy brush, we can gently sweep the highlighter onto our cheekbones, the bridge of our nose, our cupid’s bow, and our brow bone. Remember, less is more when it comes to highlighter – a subtle shimmer goes a long way. So let’s embrace our inner radiance and let our high points shine!
Blend Out Any Harsh Lines
To complete our flawless contour and highlight look, it’s crucial to blend out any harsh lines we may have created during the application process. We want our makeup to seamlessly blend together, creating a natural and cohesive finish. Using a clean blending brush or a damp beauty sponge, we gently blend the contour and highlight shades together, focusing on the areas where they meet. By softly diffusing any harsh lines, we create a soft, gradient effect that looks effortless and polished. This step ensures that our contour and highlight seamlessly melt into our skin, giving us that coveted airbrushed finish. So let’s take a moment to blend away any imperfections and achieve a flawlessly sculpted and illuminated look.
Time For Some Baking Action
Now that our contour and highlight are perfectly blended, it’s time for some baking action. Baking is a technique often used in makeup to set our under-eye concealer and create a smooth, crease-free finish. To bake, we take a loose translucent powder and apply a generous amount to the areas where we applied concealer, typically under the eyes and on the center of the forehead. We let the powder sit on our skin for a few minutes, allowing the natural heat from our face to set the makeup. During this time, we can work on other areas of our face or even sip on our favorite beverage. After a few minutes, we gently dust off the excess powder, revealing a flawlessly smooth and brightened under-eye area. The result is a long-lasting, crease-free look that withstands the test of time. So, let’s grab our favorite powder, take a baking break, and achieve a flawless finish that lasts all day.
Dust Off Excess Powder Gently
To ensure a seamless and impeccable finish, we want to make sure we handle the dusting off of excess powder with care. After allowing the baking process to work its magic, we delicately brush away any remaining powder using a fluffy brush. It’s important to be gentle during this step to avoid disrupting the makeup we’ve carefully applied. A light sweeping motion across the areas where we applied the powder will effortlessly remove any excess, leaving behind a flawless and polished look. Remember, precision and finesse are key, so take your time and enjoy the satisfying moment of revealing a beautifully set and highlighted face.
Grab A Fluffy Brush For Blush
When it comes to adding the perfect flush of color to our cheeks, we reach for our trusty fluffy brush. It’s the ideal tool for seamlessly blending and diffusing blush onto our skin. The soft bristles pick up just the right amount of product and distribute it evenly for a natural and radiant finish. With a few gentle sweeps along the apples of our cheeks, we can instantly transform our complexion into a fresh and youthful glow. So next time you’re applying your makeup, don’t forget to grab a fluffy brush for blush – it’s the secret weapon to achieving that lit-from-within radiance.
Finish With A Setting Spray
And finally, after we’ve perfected our contouring and highlighting techniques, it’s time to lock it all in with a setting spray. This magical mist is the ultimate finishing touch that ensures our hard work stays in place all day long. A few spritzes of the setting spray not only help to seal our makeup but also give our skin a beautiful, dewy finish. It’s like a protective shield for our perfectly sculpted cheekbones and illuminated features. Plus, the refreshing mist feels so luxurious and invigorating on our skin. So, before we step out the door, let’s give our makeup that final touch of perfection with a setting spray and confidently rock our flawlessly contoured and highlighted look throughout the day.
And there you have it, folks! We have reached the end of our step-by-step guide to contouring and highlighting. Whether you’re a makeup novice or a beauty pro, these techniques are sure to enhance your natural features and give you that coveted sculpted look. Remember, practice makes perfect, so don’t be discouraged if it takes a few tries to get it right. Now go forth and slay with your perfectly contoured and highlighted face!


